
How to Add a Size Chart to Your Store That Cuts Returns
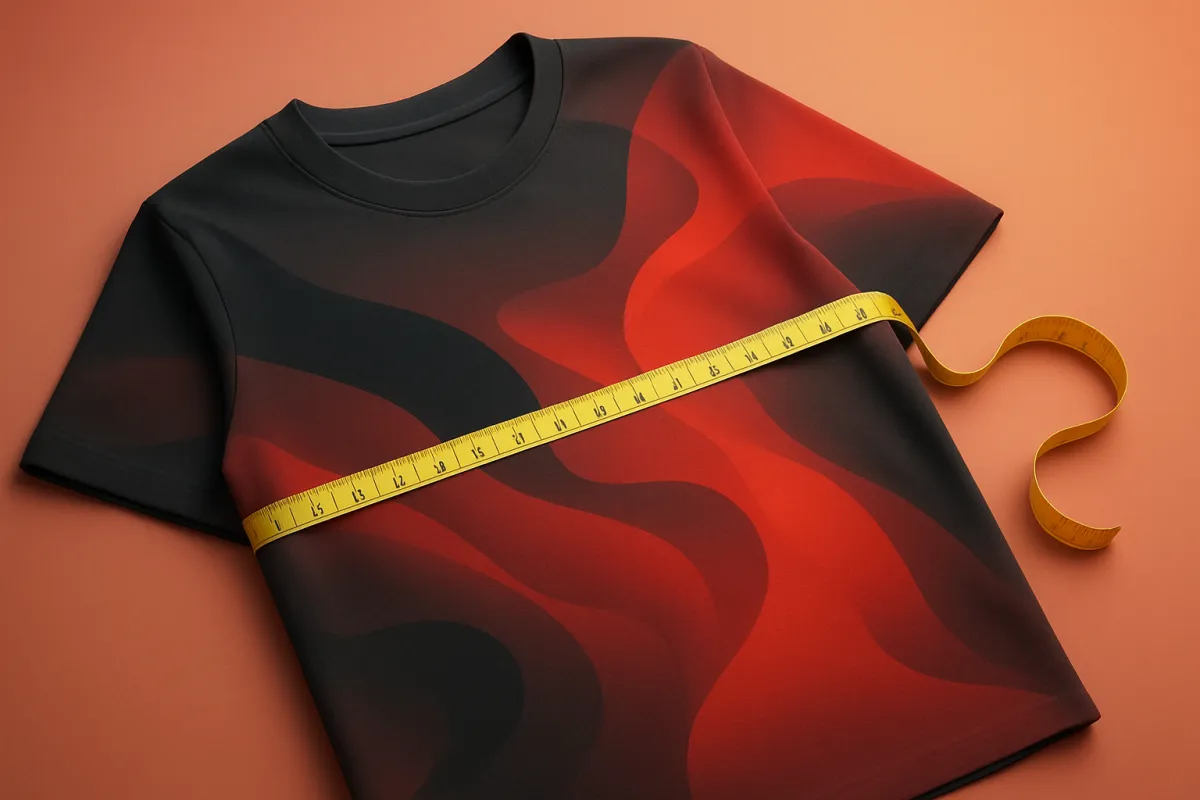
A clear size chart stops guesswork, keeps buyers happy, and cuts costly returns. Here's how to build one and add it to your product pages the right way.
Returns are expensive and frustrating. When someone buys a shirt and it arrives too tight, you often pay for shipping twice, restock the item, and lose a happy customer. A good size chart is one of the simplest ways to fix this. It answers the buyer's biggest worry, "Will this actually fit me?", before they order. This guide shows you how to build a size chart that works and where to put it so people actually read it.
Why a size chart cuts returns
Most size-related returns happen for one reason: the buyer guessed. They picked "medium" because that is what they usually wear, and every brand sizes things differently. A medium from one shop is a large somewhere else.
A clear size chart removes the guessing. When a shopper can compare their own body measurements to your exact numbers, they order the right size the first time. That means fewer returns, fewer complaints, and better reviews. It also builds trust, which makes people more likely to buy at all.
Here is the quiet bonus: a size chart often lifts sales, not just lowers returns. Nervous shoppers who would have closed the tab now feel safe enough to buy.
What to include in a size chart
A size chart is just a simple table. Each row is a size. Each column is a body measurement. Keep it clean and easy to scan. Do not cram in ten columns of numbers nobody understands.
For clothing, the most useful measurements are usually:
- Chest or bust - measured around the fullest part.
- Waist - around the narrowest part of the middle.
- Hips - around the widest part.
- Length - top to bottom, for tops, dresses, or trousers.
- Sleeve or inseam - where it matters for the item.
For shoes, list foot length in centimetres or inches next to each size. For rings, list the inside diameter. For hats, list head circumference. Match the measurements to what actually affects fit for your product.
One important choice: are your numbers body measurements or garment measurements? Body measurements tell the buyer, "If your chest is this size, pick this." Garment measurements tell them the flat size of the item itself. Pick one, then say clearly which it is. Mixing them up is a common cause of confusion.
How to get accurate measurements
Your chart is only as good as your numbers. Wrong numbers cause more returns, not fewer. So take real measurements from your actual products.
- Lay the item flat on a table, smooth out any wrinkles.
- Use a soft measuring tape and measure each key point.
- For garment measurements, double the flat chest width to get the full circumference where it applies.
- Measure two or three units of the same size to spot small differences.
- Write the numbers down in both centimetres and inches so shoppers in any country can use them.
If you sell items from a supplier, do not just copy their chart. Measure a few samples yourself to check they match. Suppliers make mistakes, and their return costs land on you.
Add a simple "how to measure yourself" guide
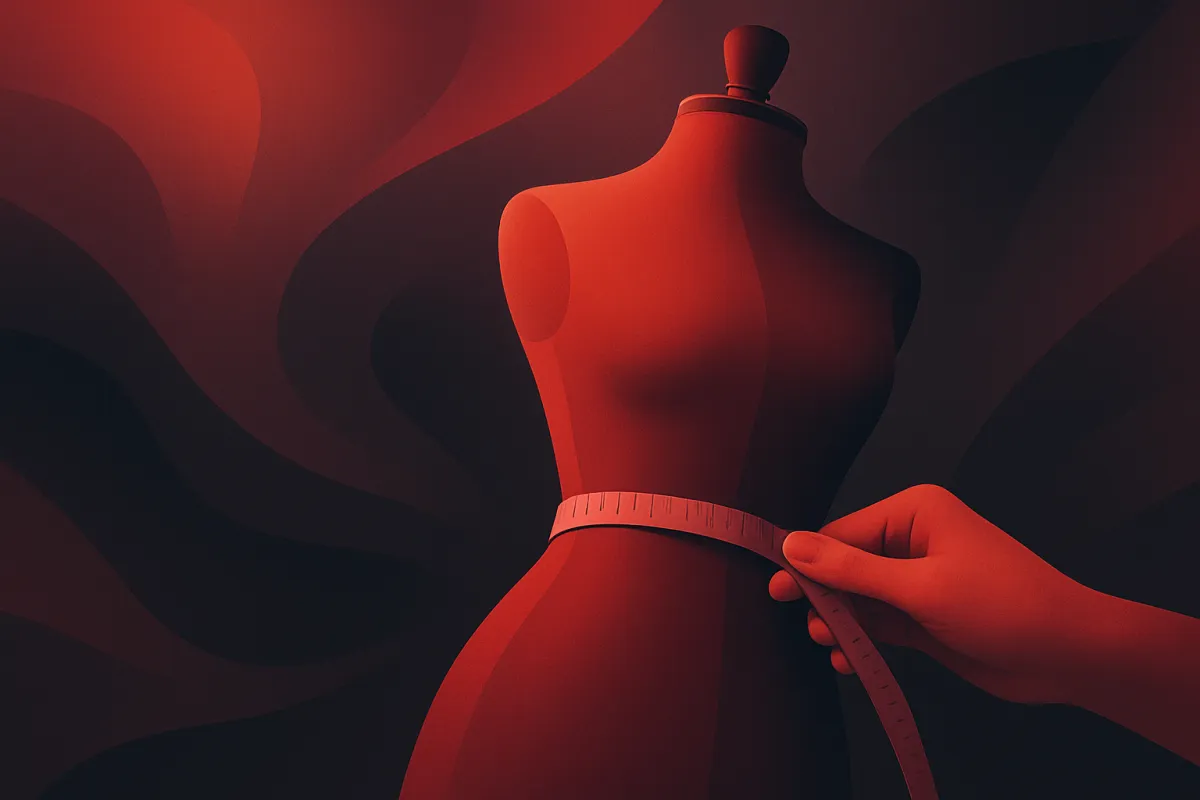
A table of numbers is useless if the buyer does not know how to measure their own body. So add a short guide right next to the chart. Two or three lines per measurement is plenty.
For example: "Chest: wrap the tape around the fullest part of your chest, under your arms, keeping it level." Simple, friendly, clear. If you can add a small picture showing where to place the tape, even better. Pictures beat paragraphs here.
Also tell people what to do when they fall between two sizes. A single line like "If you are between sizes, size up for a relaxed fit" prevents a lot of wrong orders.
Where to place the size chart on your store
The best chart in the world does nothing if buyers never see it. Place it where the decision happens, which is right on the product page near the size options.
- Put a clear "Size guide" link or button next to the size selector.
- Open it in a pop-up or expandable section so it does not push the buy button off the screen.
- Repeat the fit advice inside your product description in plain words, like "runs small, we suggest sizing up."
- If you sell many products in the same fit, keep one master chart and link every product to it.
When you set up your product options, connect the size chart to the sizes you offer. If you are still building out those options, our guide on how to set up product variants like size, color, and style walks through the whole process. A chart makes far more sense sitting right beside the sizes a shopper is choosing from.
Steps to add a size chart to your store
Here is a simple order to follow so nothing gets missed:
- Measure your products. Get real numbers for every size you sell.
- Build the table. One row per size, a column for each key measurement, in both cm and inches.
- Write the measuring guide. A short line for each measurement, plus advice for in-between sizes.
- Add it to the product page. Place a "Size guide" link next to the size options, opening in a pop-up.
- Repeat the key advice in the product description in plain language.
- Test it on your phone. Most shoppers are on mobile, so make sure the table is readable and scrolls smoothly.
If you use a builder like vq.pe, you can add the chart as a table or an image block on your product page and link it to your size options without touching any code. The point is to keep it close to the decision, not buried on a separate help page.
Go further to stop wrong-size orders
A size chart is your foundation. A few extra touches drive returns down even more.
Answer fit questions before they are asked
Buyers often have the same worries: Is the fabric stretchy? Does it shrink after washing? Is the fit tight or loose? Collect these and answer them in a short fit section. This pairs well with a proper product FAQ, and our guide on how to write a product FAQ that removes buying doubts shows how to structure it.
Show clothes on real bodies
Add a line like "Model is 175 cm and wears size M." This gives shoppers a real reference point. Photos on different body types help even more, because people can picture themselves in the item.
Watch your data and improve
Do not guess which products cause returns. Check the numbers. If one item keeps coming back for size, its chart or its sizing is off. Learning to read your store analytics to find what loses sales helps you spot these problem products and fix them fast. Update the chart, add a note, or adjust the sizing you offer.
A quick example
Say you sell handmade t-shirts. You measure your stock and find your "medium" chest is 102 cm flat, which is 51 cm across. You add a table with chest, length, and sleeve for small, medium, and large, in cm and inches. Next to it you write, "Measure a t-shirt you already love and match it to these numbers." You add "between sizes? Size up, our fit is slim." Within a few weeks, your size-related returns drop, and buyers stop messaging you to ask.
That is the whole idea. You spend an hour getting it right once, and it saves you money and hassle on every order after.
Start with your best-selling product today. Measure it, build a small clean table, and add it right next to the size buttons. Small effort, real payoff, and a lot fewer returns landing back on your doorstep.